The other day, I was sitting with my daughter at the table, and she was completely fascinated by her Numberblocks toys. She loves lining them up, naming their colors, and of course—counting them over and over. That’s when I thought, why not make our own stickers of the Numberblocks characters.
I grabbed a few supplies—just parchment paper, masking tape, scissors, and some printed pictures of the characters—and before long, we had made our very own DIY Numberblocks stickers. She was so excited to peel them off and stick them everywhere! And I’ll be honest, I had just as much fun making them as she did.
That’s the project I’m sharing with you today—not only because it’s cute and fun, but because it’s actually a really powerful way to help kids learn and practice skills.
Why You’ll Love This Activity
Whenever we do little DIY projects like this, I notice how much kids are learning without even realizing it. With these stickers, kids are:
– Practicing fine motor and scissor skills as they cut and peel.
– Strengthening number recognition and counting with characters they already love.
-Exploring color recognition, since each Numberblock has its own bright, bold color.
-Building confidence and creativity because they’ve made something themselves.
It’s such a simple setup, but it turns into a whole afternoon of learning and play.
What You’ll Need
You don’t need anything fancy for this activity. You probably already have most of these at home. Here are the things we used:
– Parchment paper
-Masking Tape
-Scissors (kid-safe scissors if little hands are helping)
-Printed pictures of the Numberblocks characters
How to Make Do It Yourself Stickers
Here’s the quick rundown of what we did (and you can follow along in my video if you’d like to see each step in action):
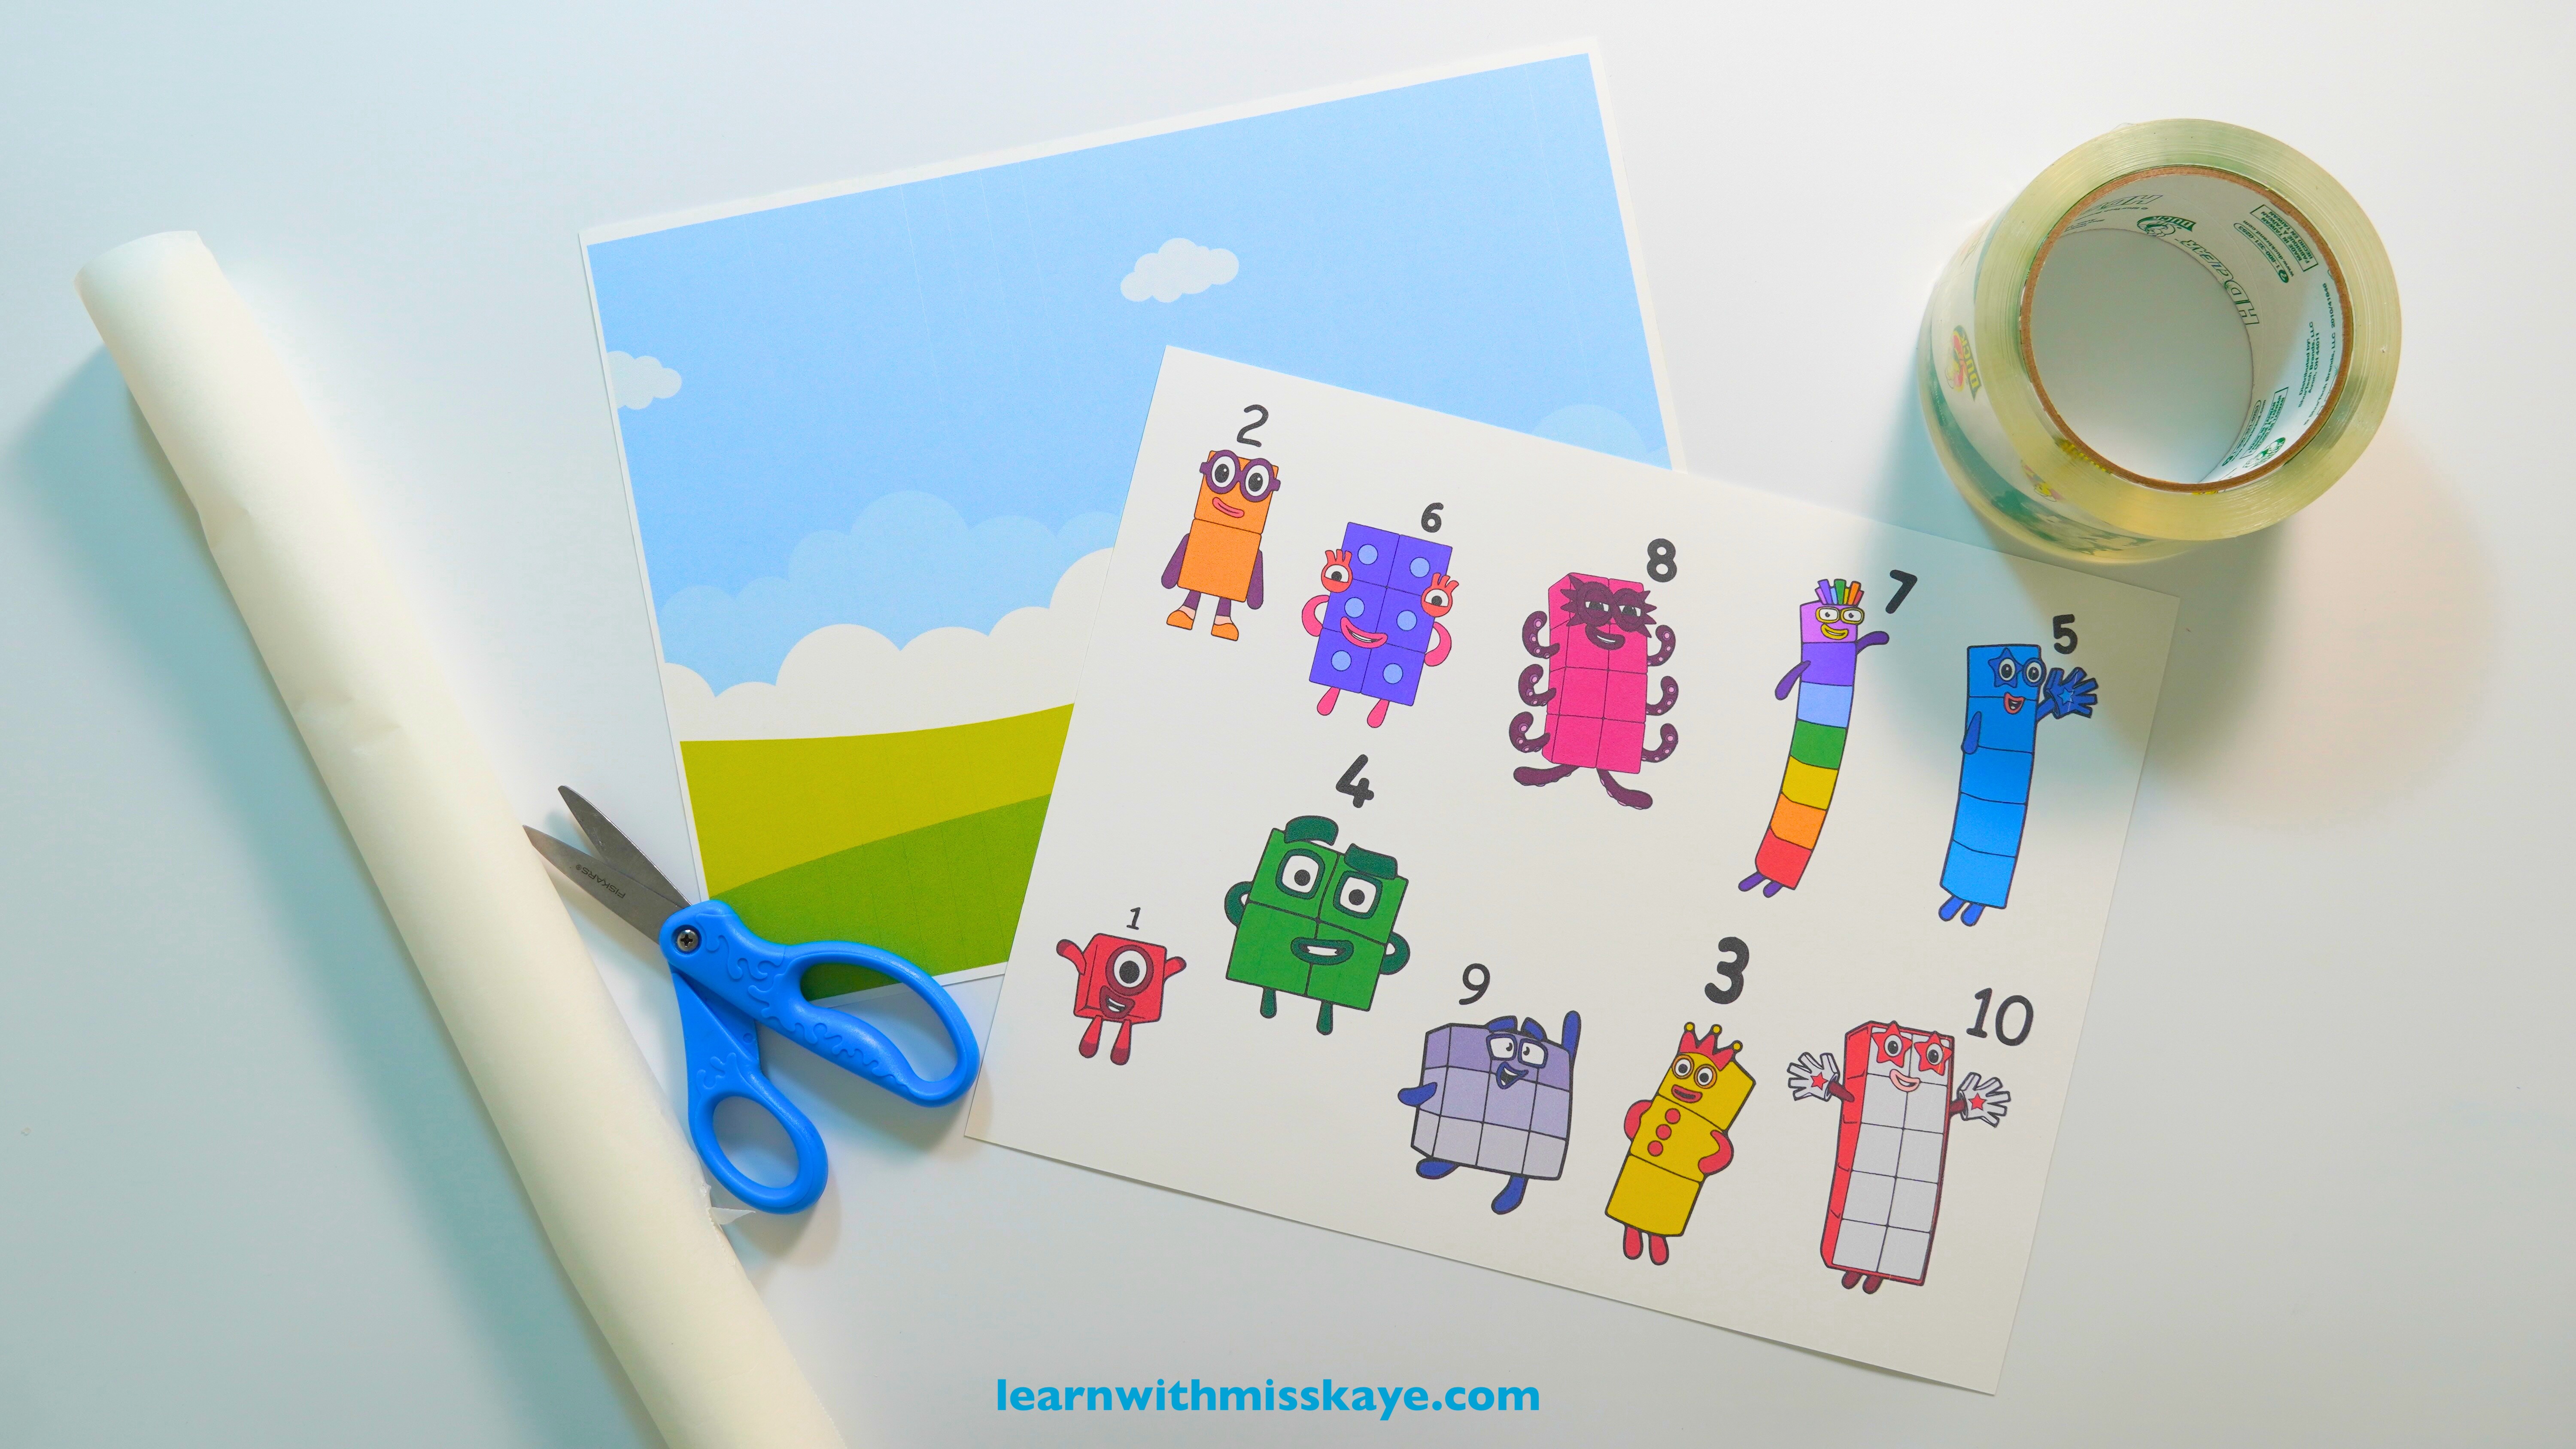
1.Print out your favorite Numberblocks characters. (or any character you want)
2.Prepare all the materials: parchment paper, masking tape, scissors and print out of the Numberblocks characters.
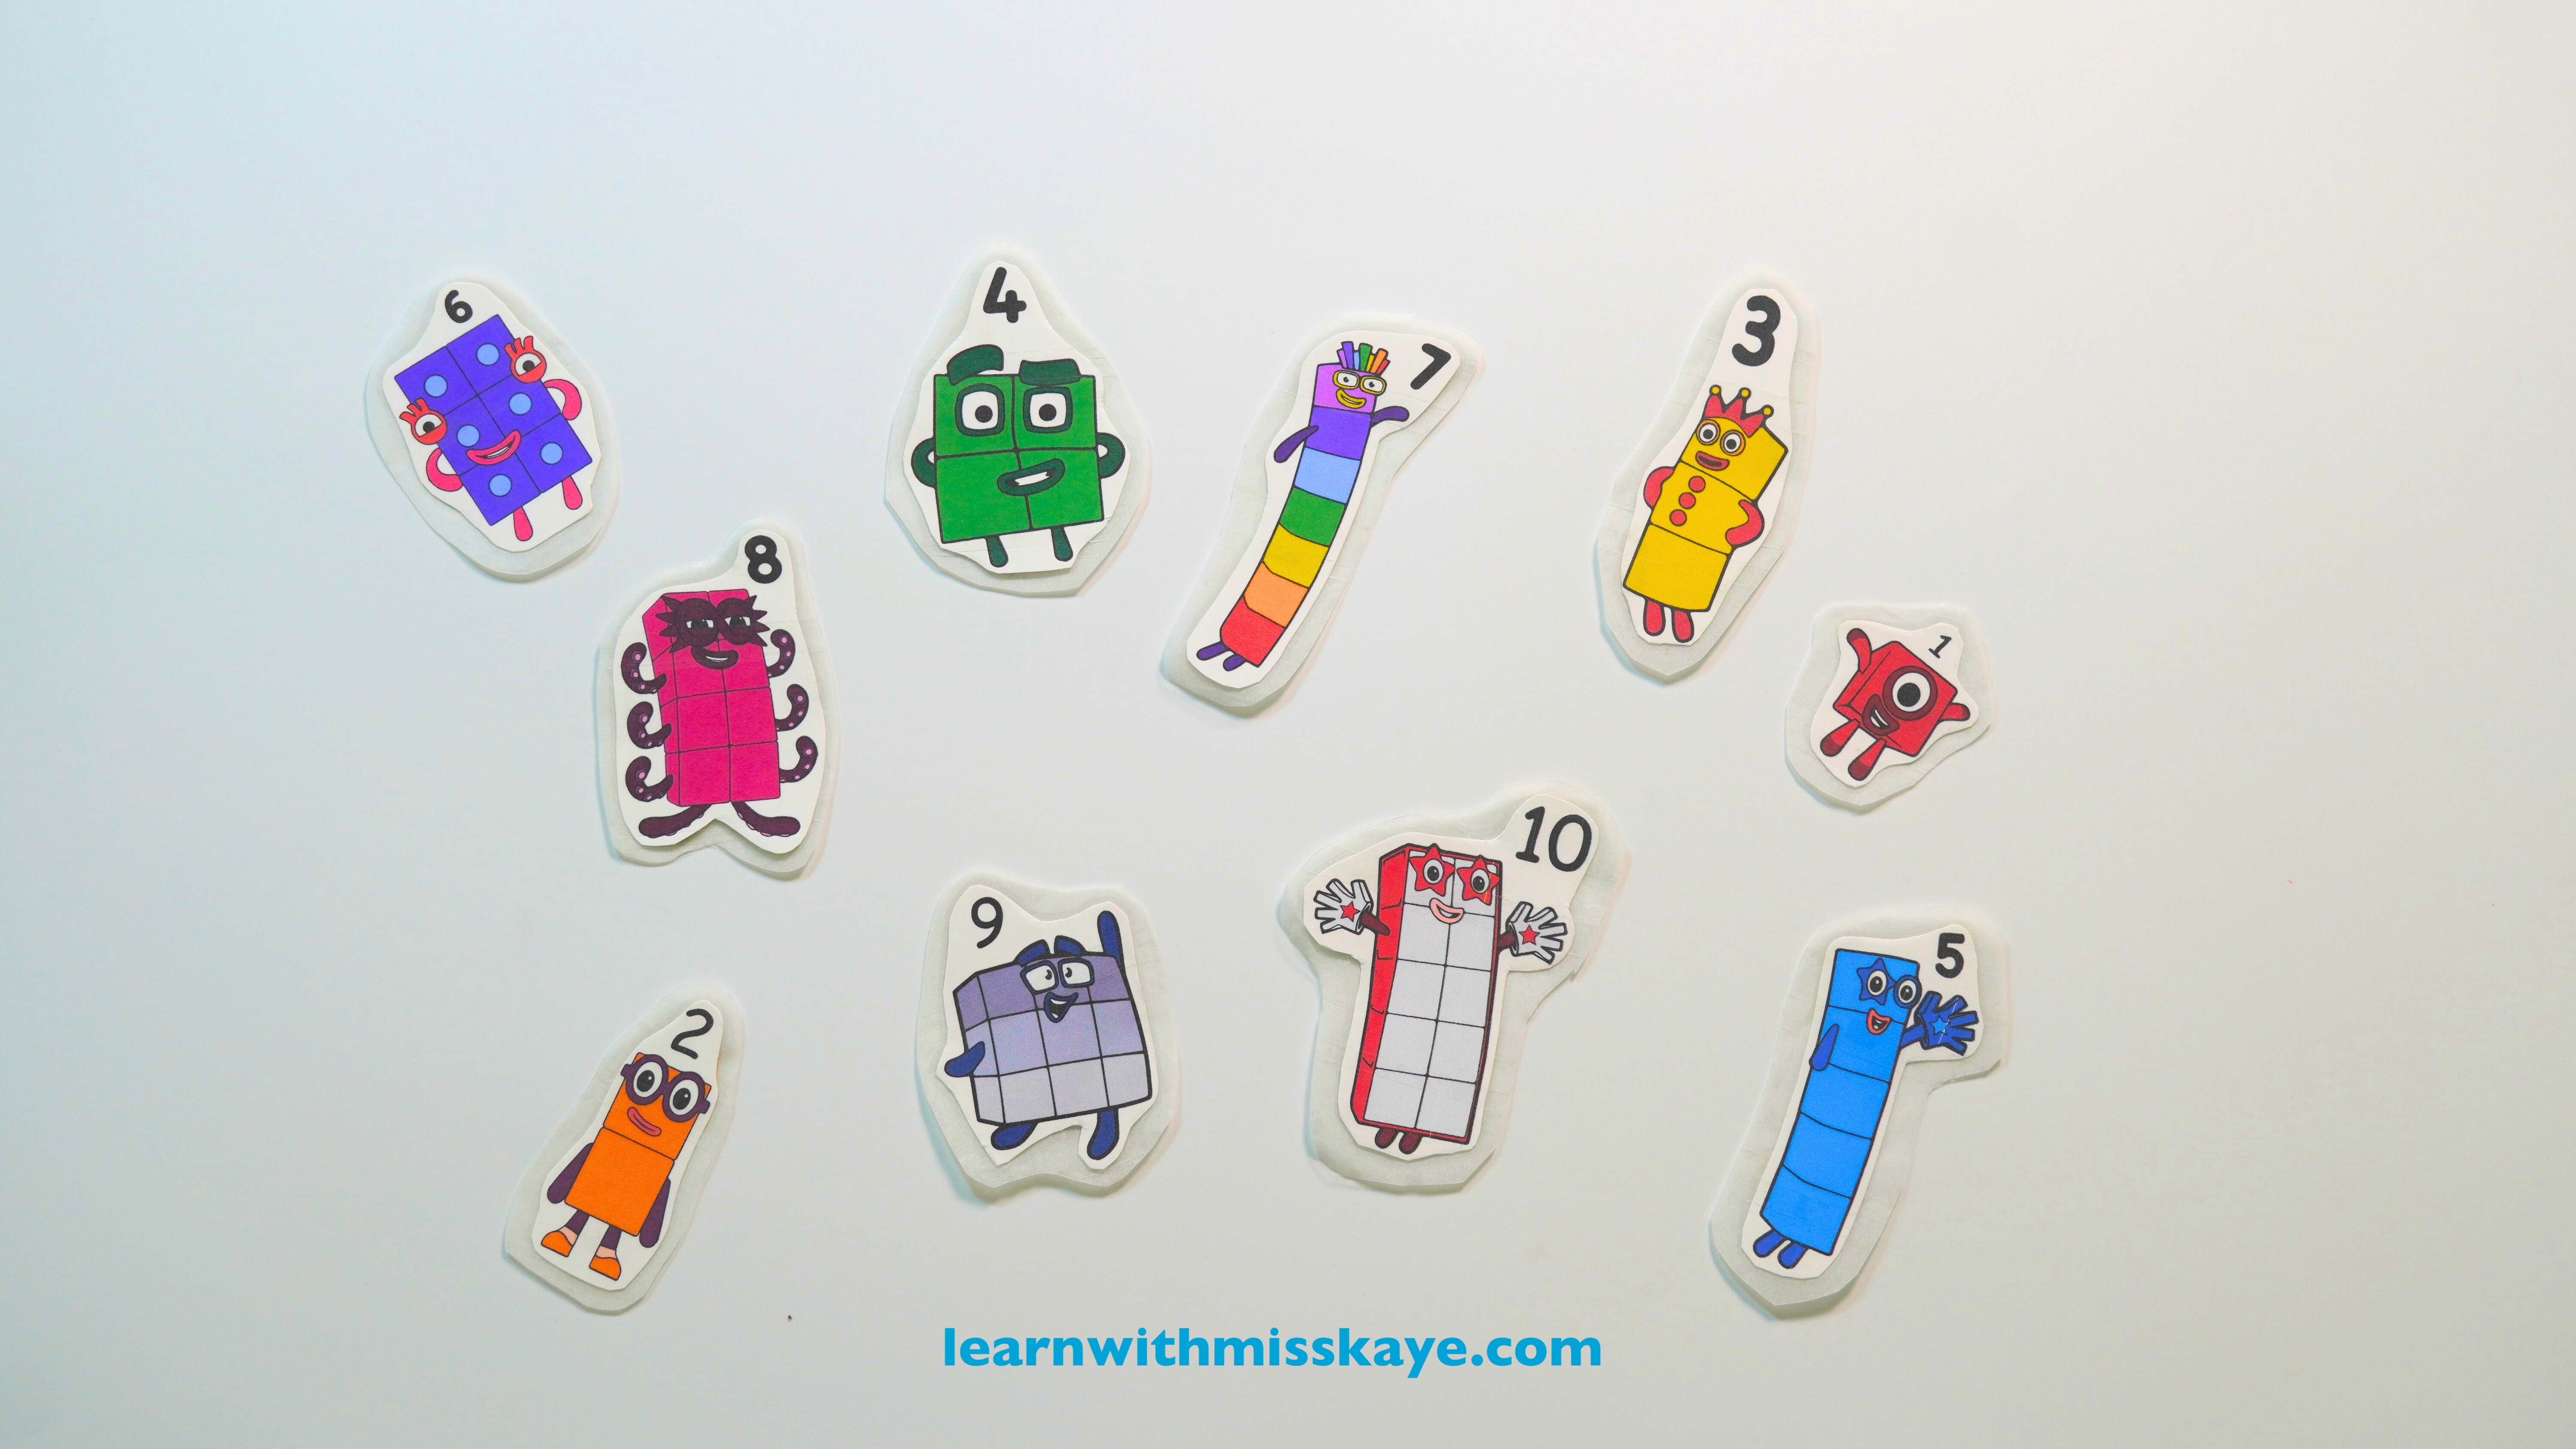
3. Cut the Numberblock characters you just printed. Assist kids here especially if they are still learning how to use scissors.
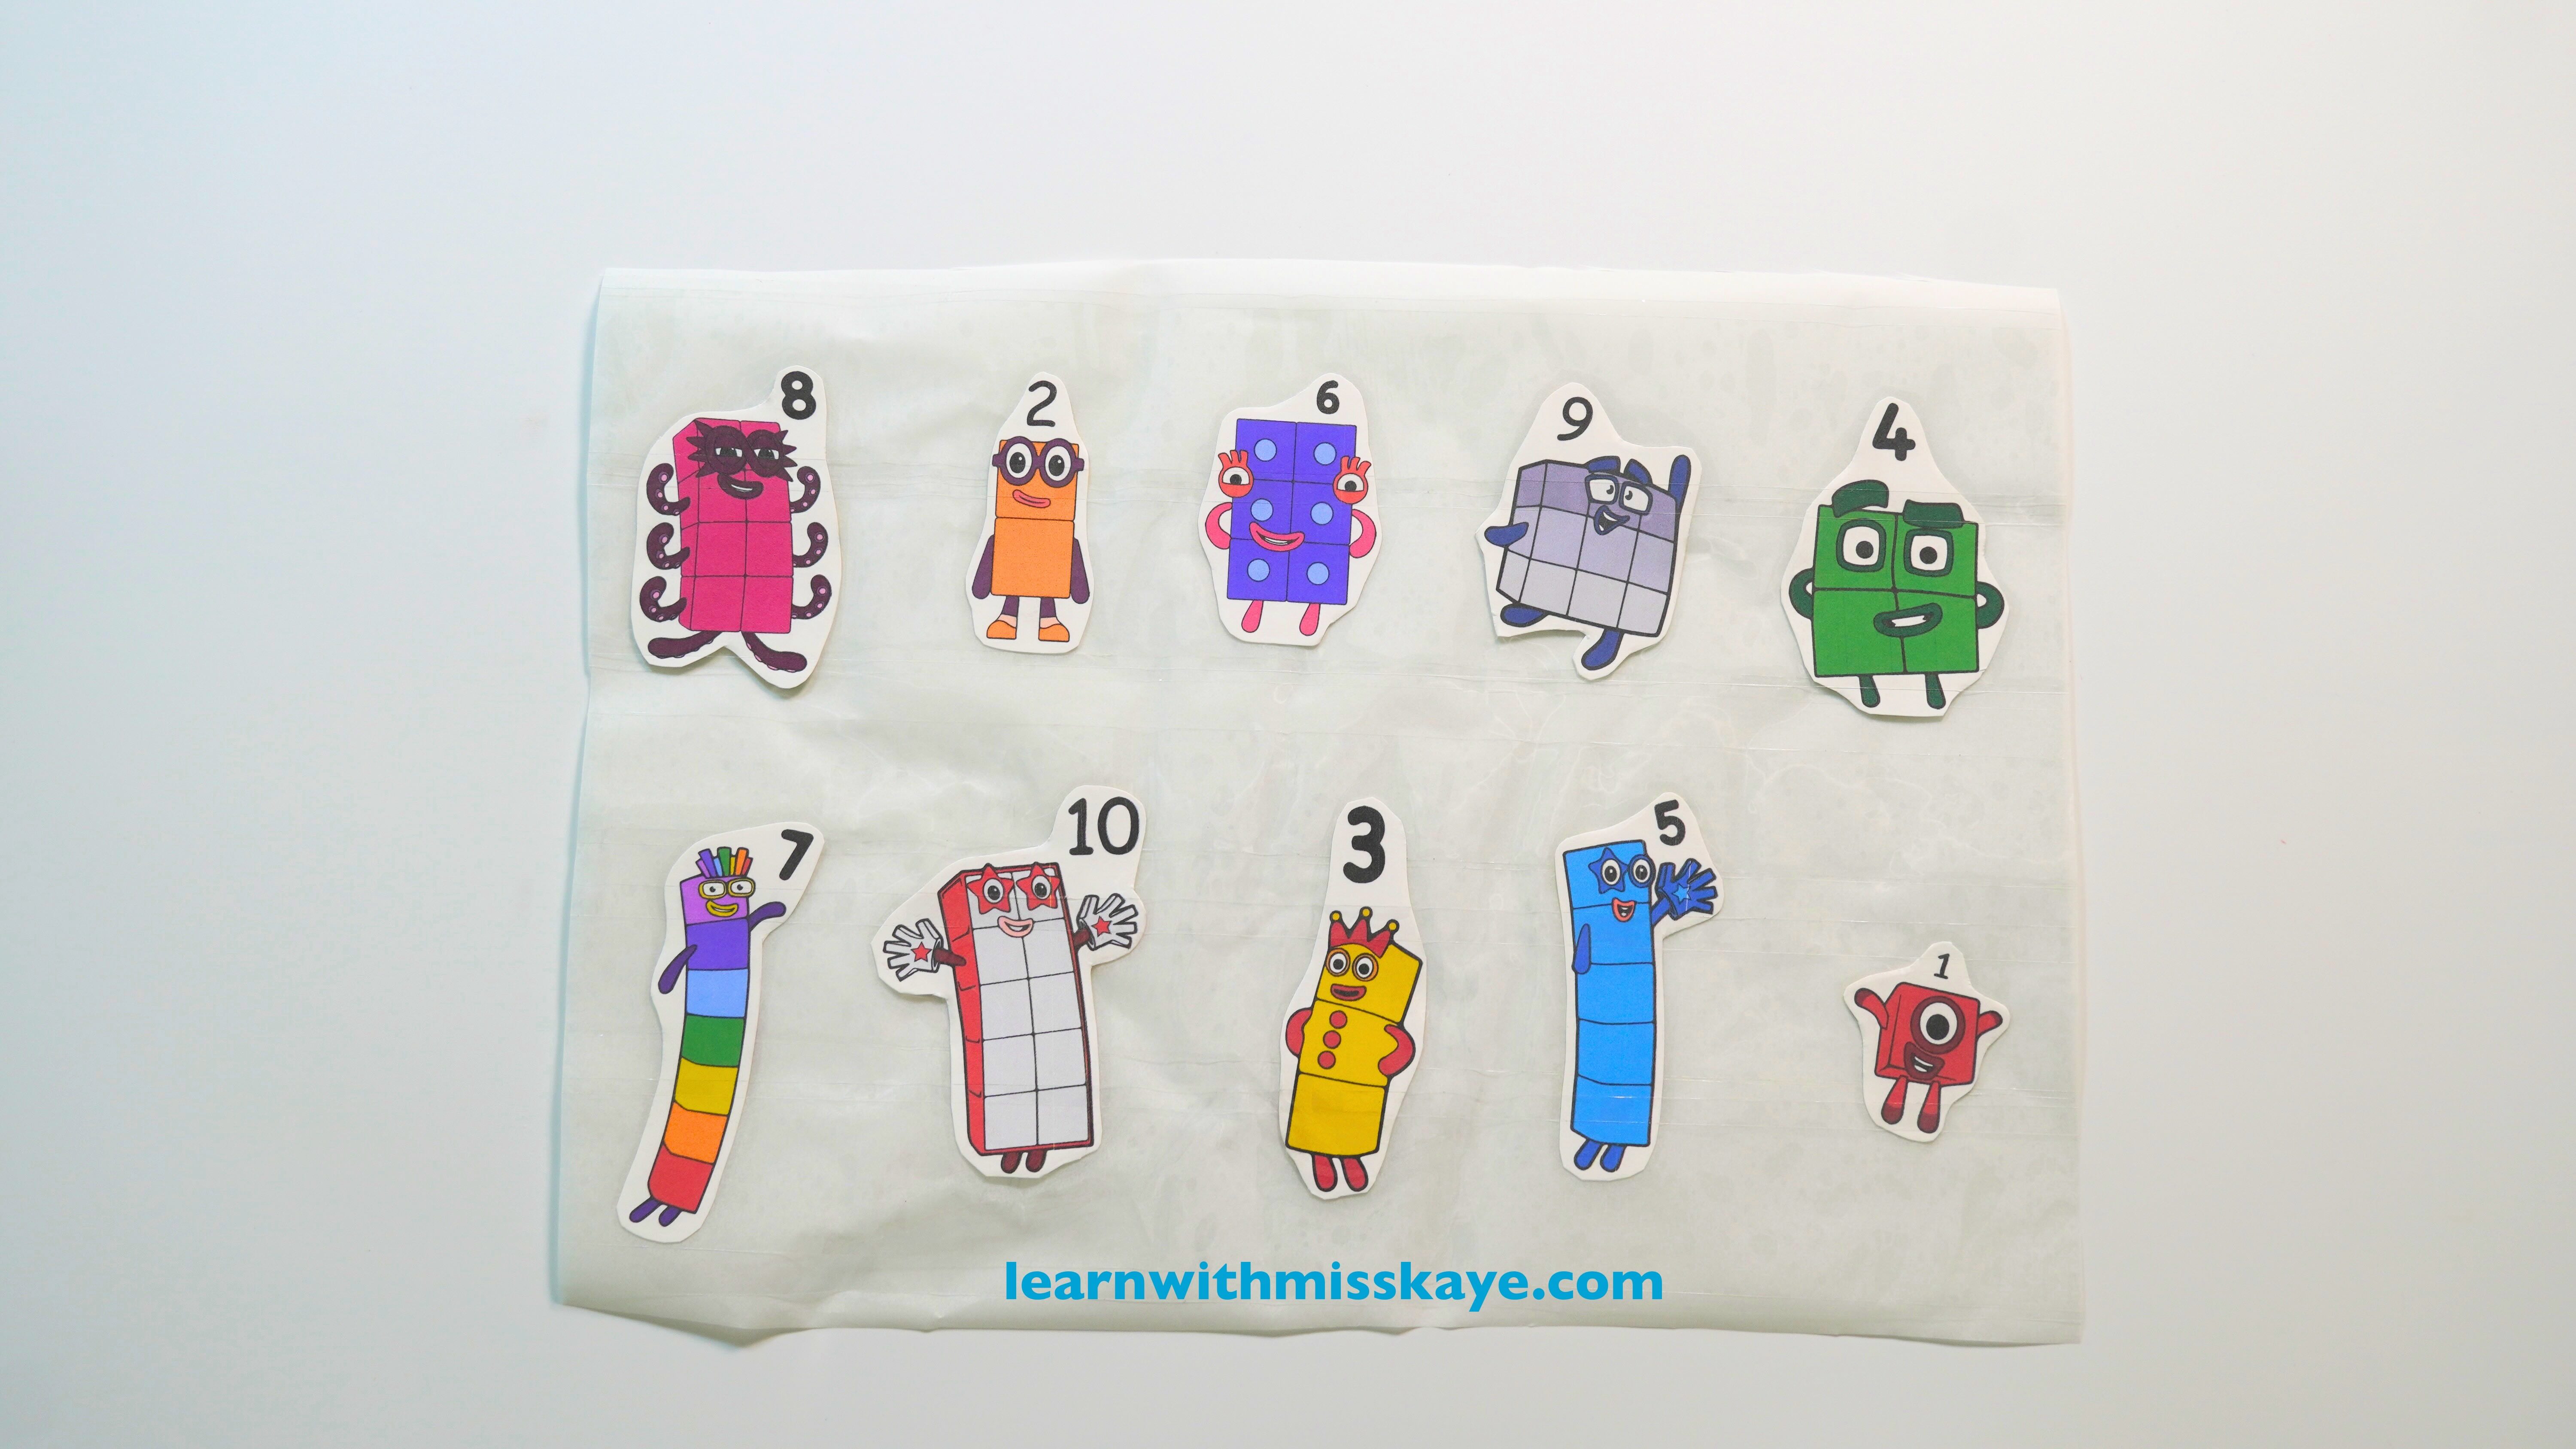
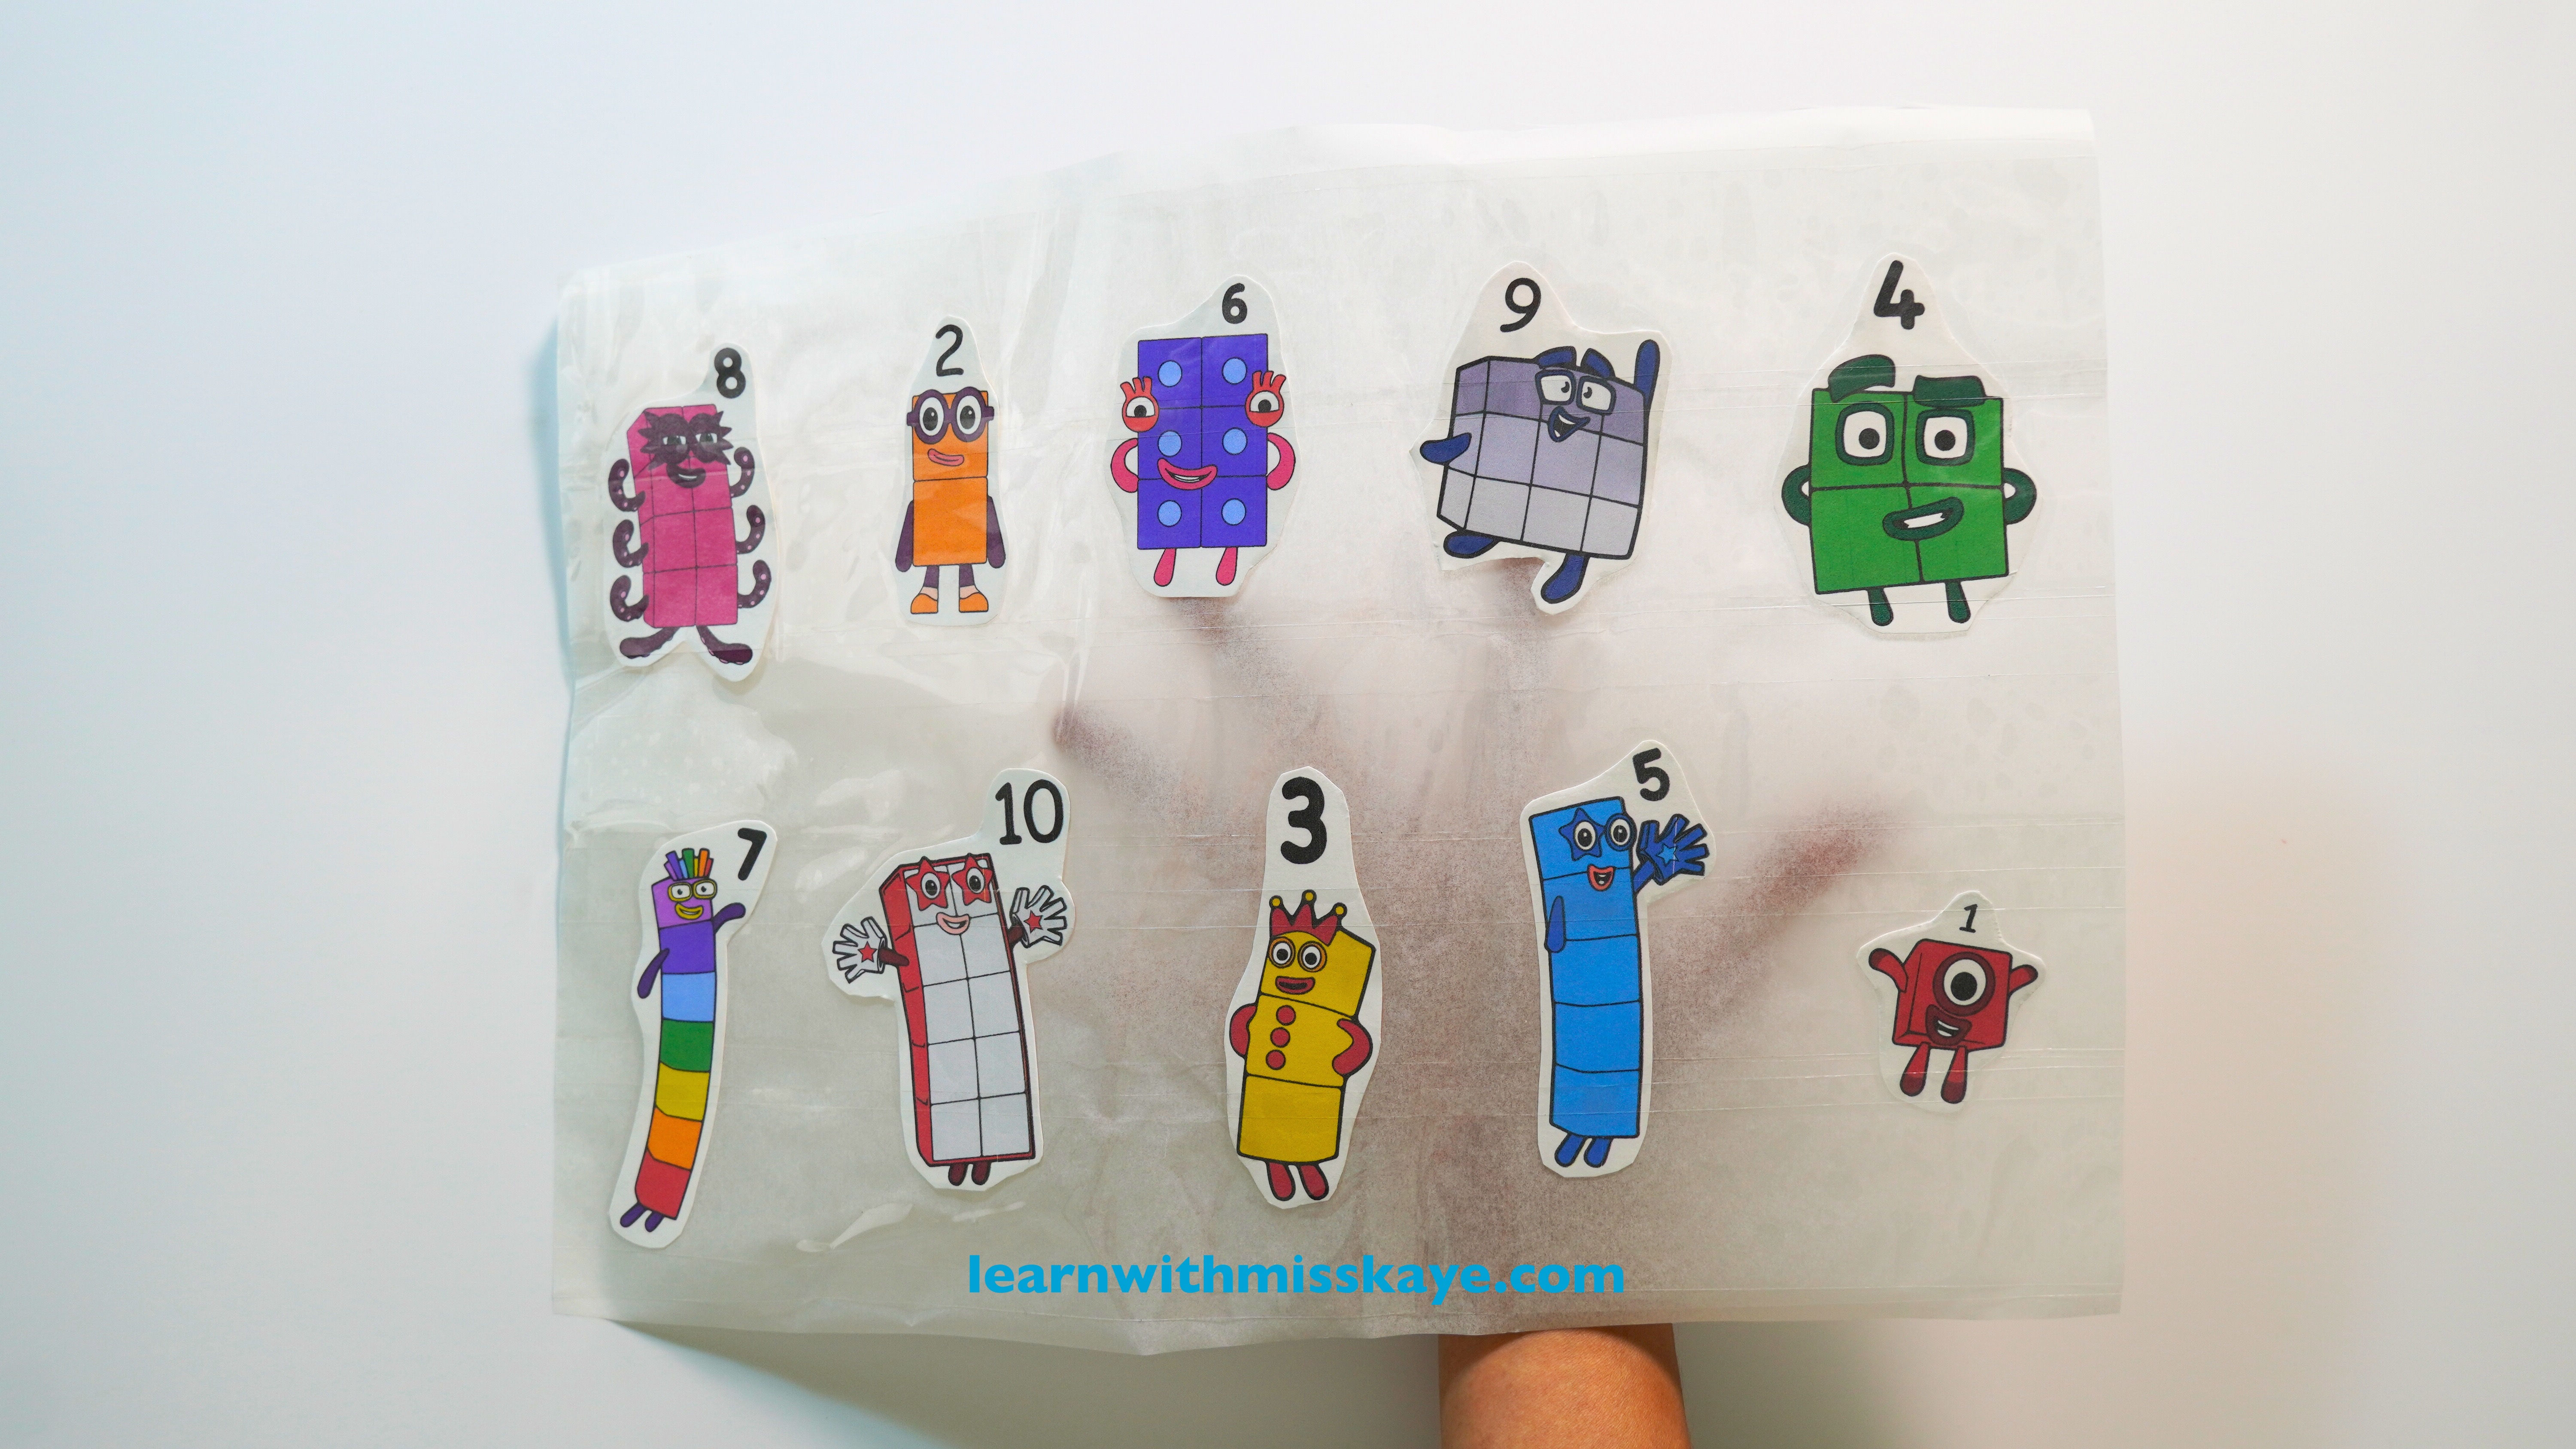
4. Lay parchment paper flat on the table and cover it with strips of masking tape—this creates the sticker backing.
5. Place the Numberblock characters you cut on top of the parchment paper.
6. Cover everything wit masking tape again.
7. Cut around each character, leaving a little border so the sticker stays together.
8. Peel, stick, and play!
My daughter has her own Sketch Book where she puts all her DIY stickers. After she learned how to make these, she was unstoppable. She’s four years old and she enjoys simple crafts like this. She constantly asks me to print more characters for her.
Now let’s go through these steps one by one:
1.Prepare all the materials for the activity.
2. Cut the Numberblocks characters you just printed.
3. Lay parchment paper on the table and cover it with strips of masking tape.
4. Place the Numberblock characters you cut on top of the parchment paper.
5. Cover everything with masking tape again.
6. Cut around each character, leaving a little border so the sticker stays together.
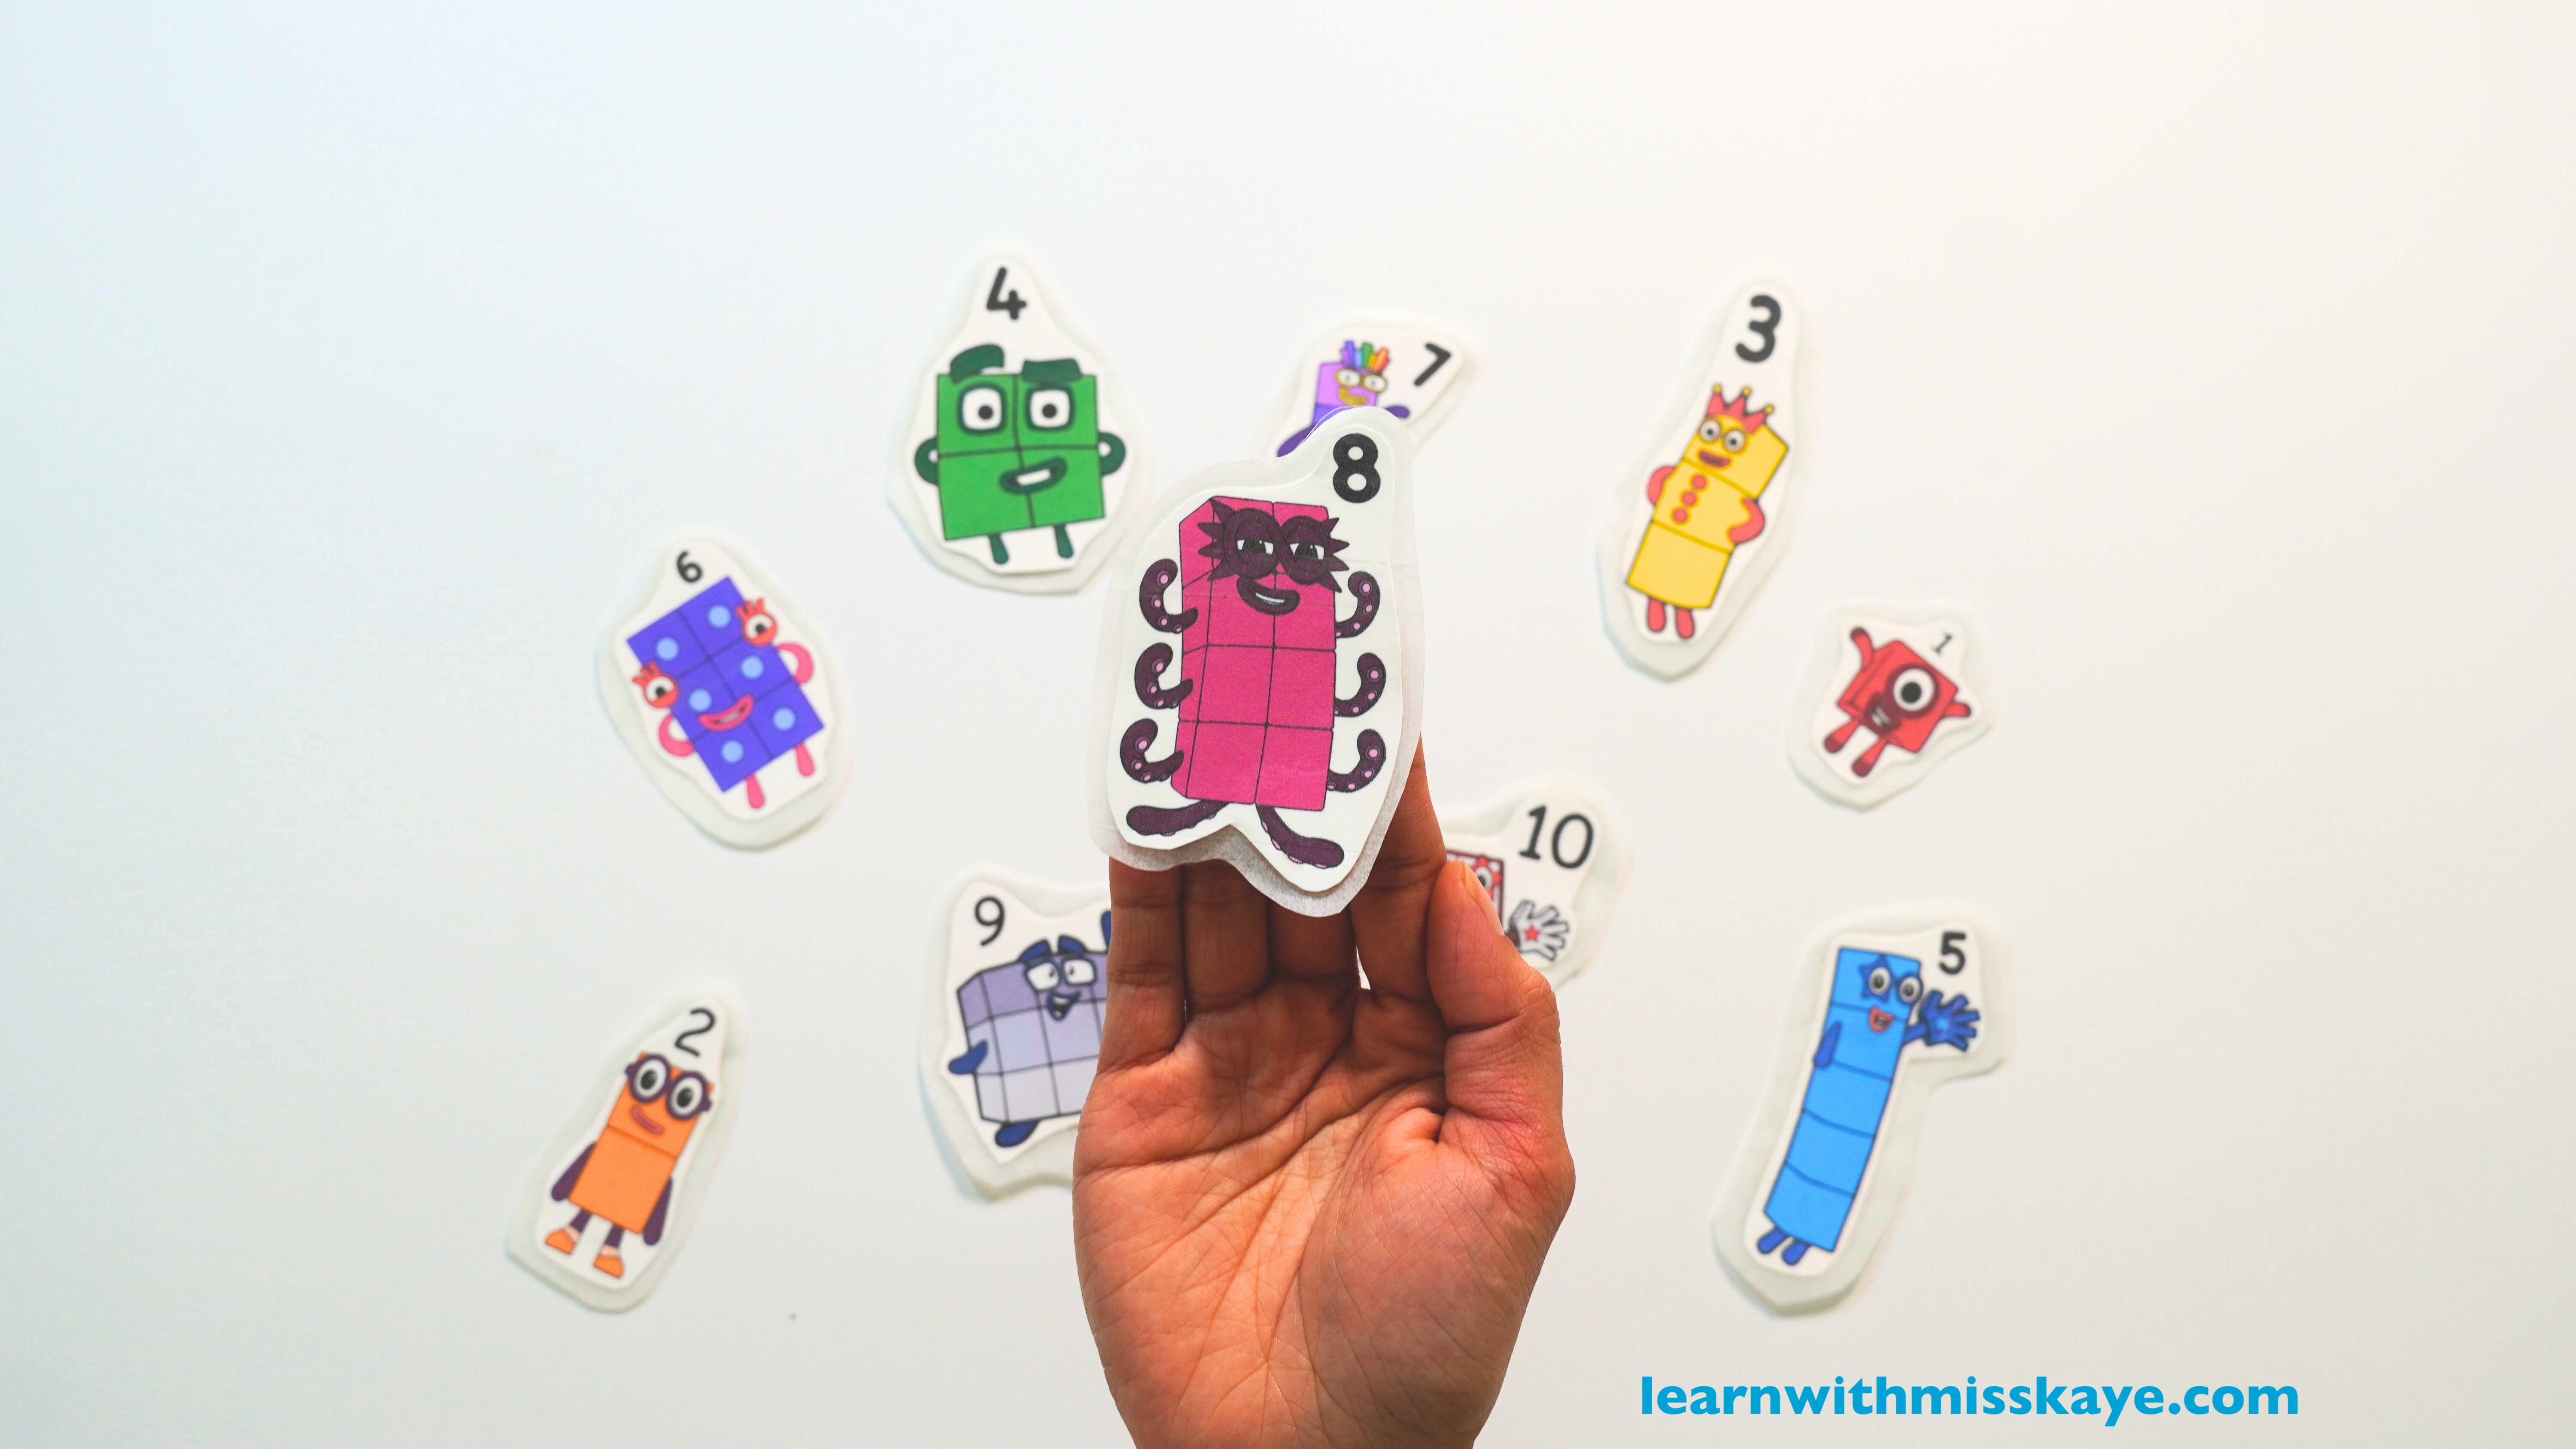
7. Peel, stick, and play!
If you prefer watching, check out my full video on my Youtube Channel Learn With Miss Kaye where I walk through this project step by step. Maybe you’ll find yourself having just as much fun making stickers as your kids do!
How to Add More Fun and Learning With the Stickers
Once you’ve made your stickers, there are so many fun ways to use them. Here are a few of my favorites:
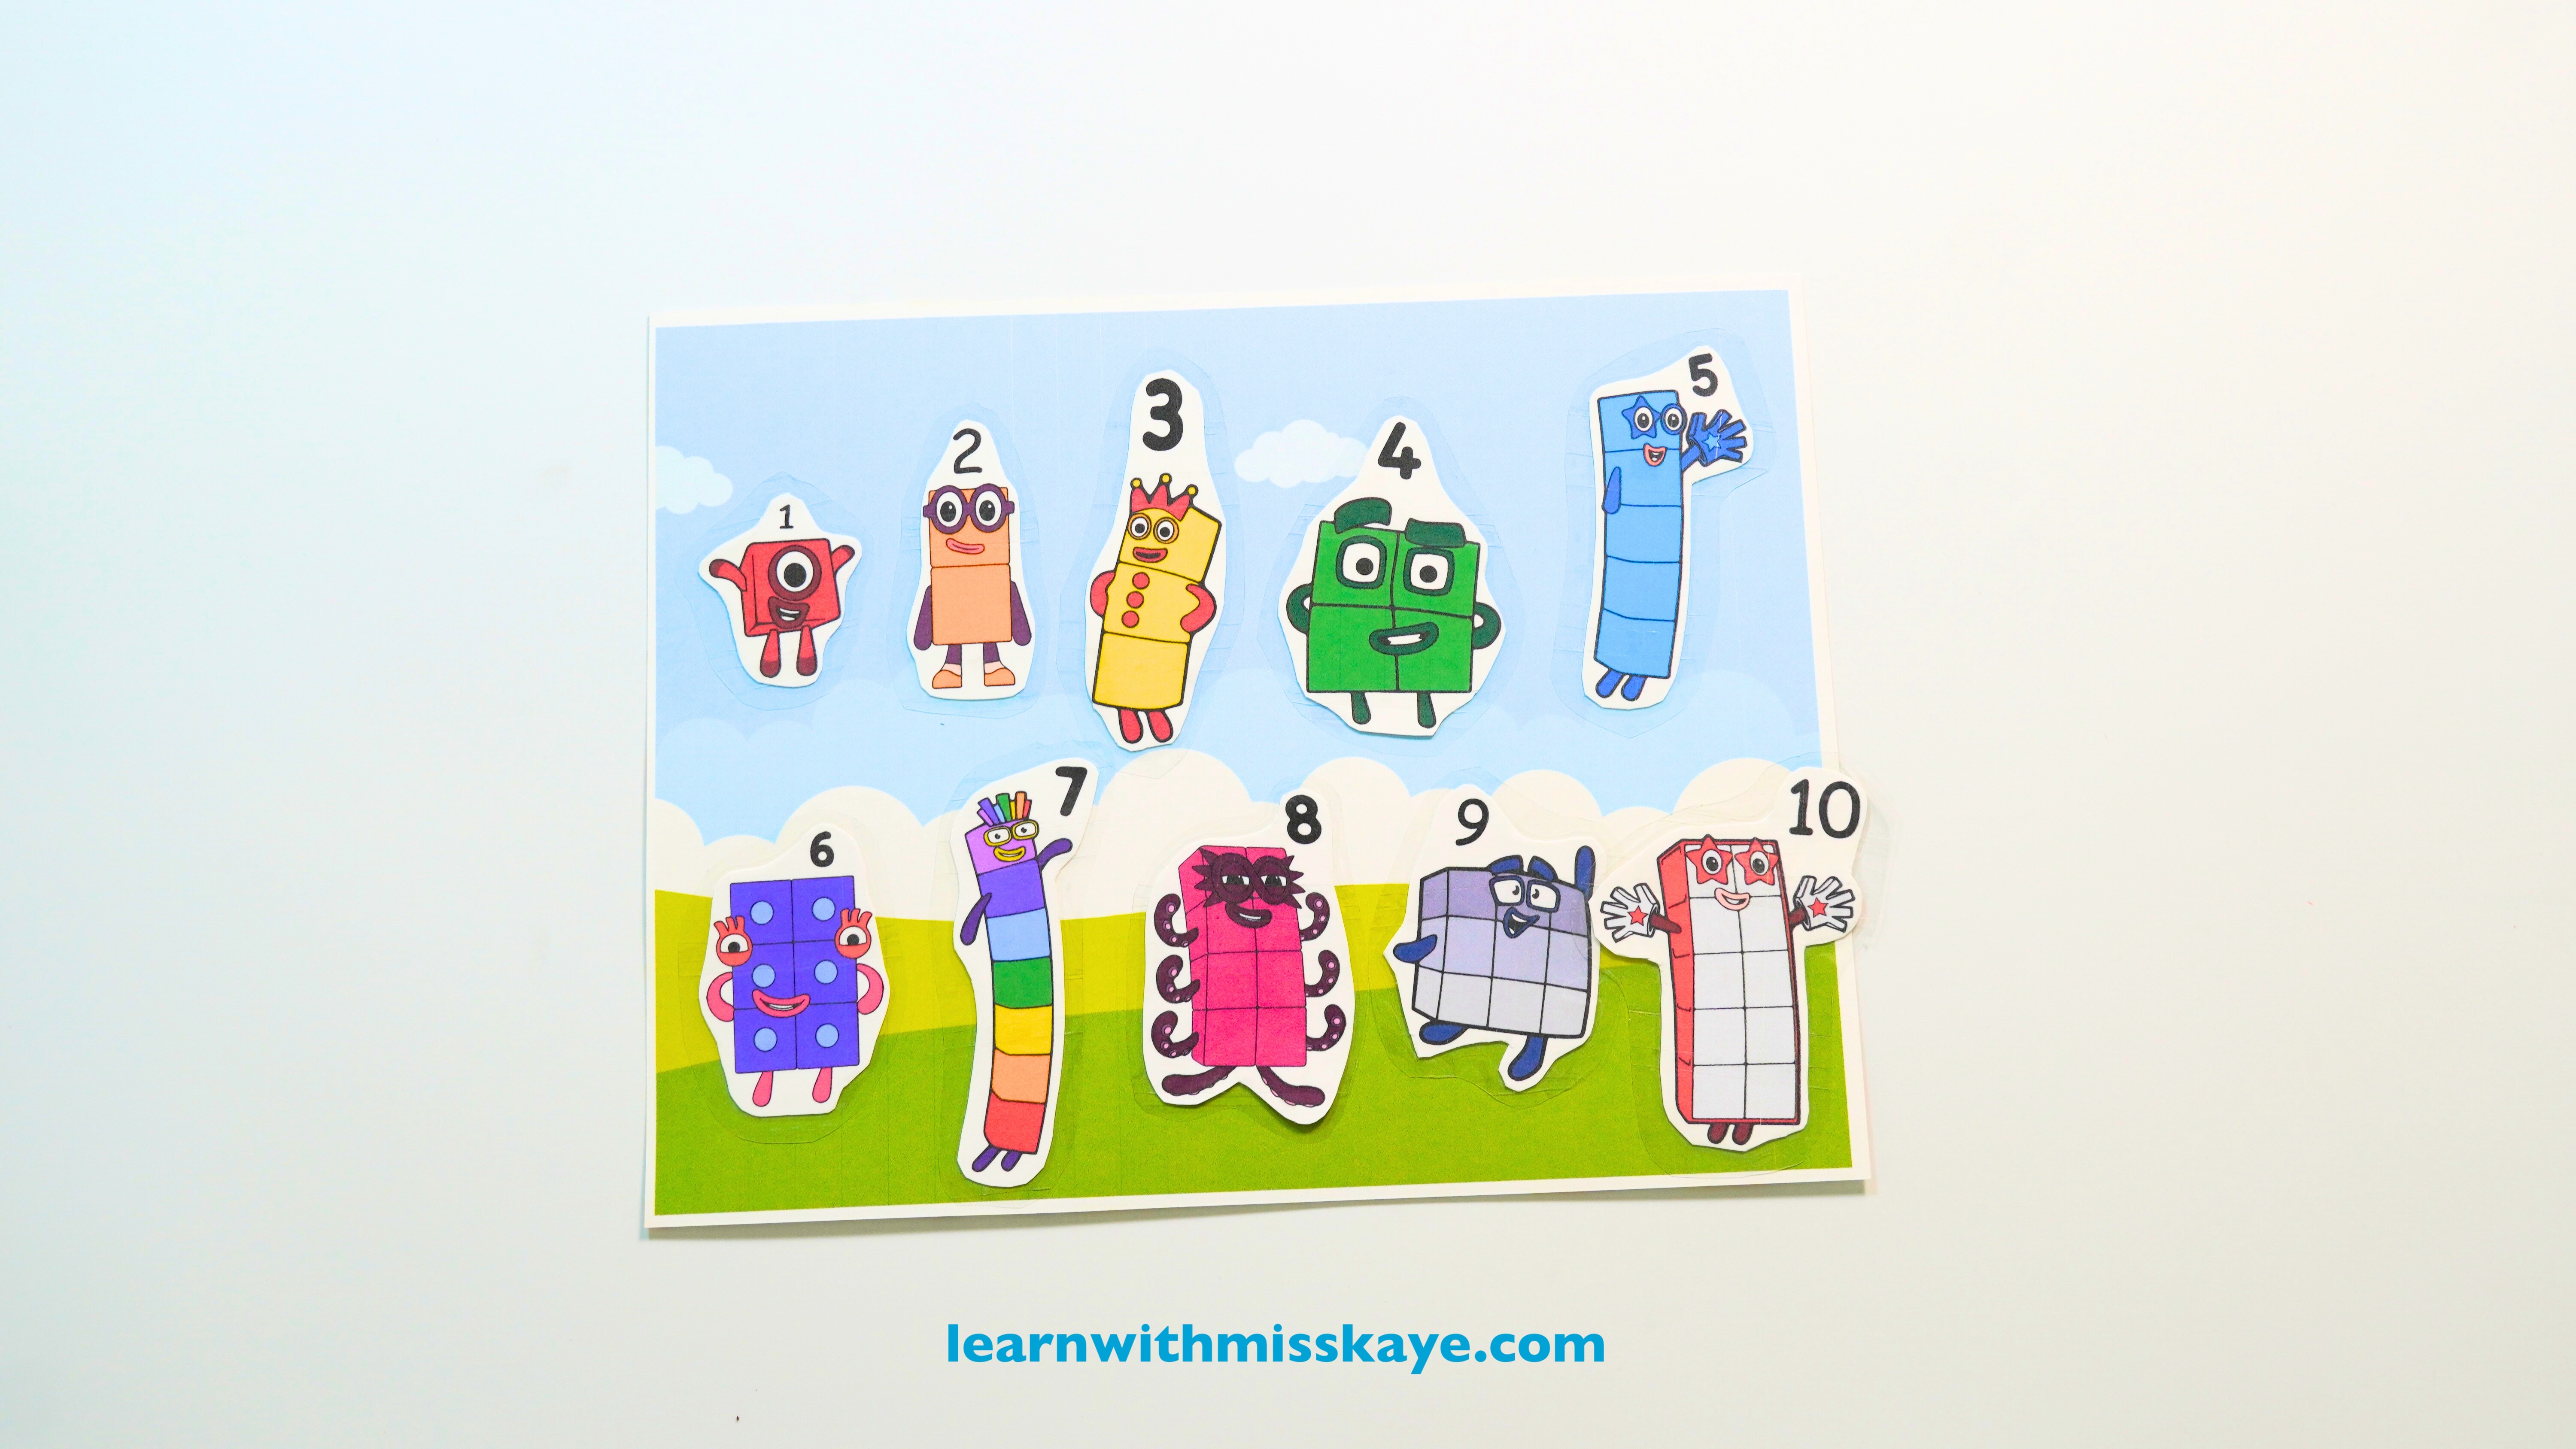
1.Counting practice: Line up the Numberblocks and count together.
2. Color matching: Create a separate worksheet where kids can match the Numberblock character with corresponding number or color.
3. Math stories: Use the stickers to act out “Numberblock 2 meets Numberblock 3—together they make 5!”
4. Create sticker scenes: Let kids stick them onto a play mat, poster board, or notebook to make their own Numberblocks world.
5. Memory game: Print two sets and use them for a simple matching game.
As a mom and an educator, I know how important it is to find activities that are both fun and meaningful. Kids don’t always realize they’re “learning” when we present it in a playful way—and that’s the magic of activities like this.
So whether you’re a homeschooling parent looking for a hands-on math idea, a teacher planning a math center, or just a mom wanting to keep her kids busy in a purposeful way, these DIY Numberblocks stickers are such a wonderful project to try.
It’s budget-friendly, screen-free, and most importantly—your kids will be proud of what they’ve created.
Before You Go!
If you enjoy simple, hands-on activities like this one, I share plenty more ideas for learning through play on my YouTube channel, Learn With Miss Kaye. Don’t forget to subscribe so you don’t miss the next activity!
You can also join my email list to get free resources, tips, and exclusive printables sent straight to your inbox—perfect for parents, teachers, and homeschooling moms who want to make learning both fun and meaningful.